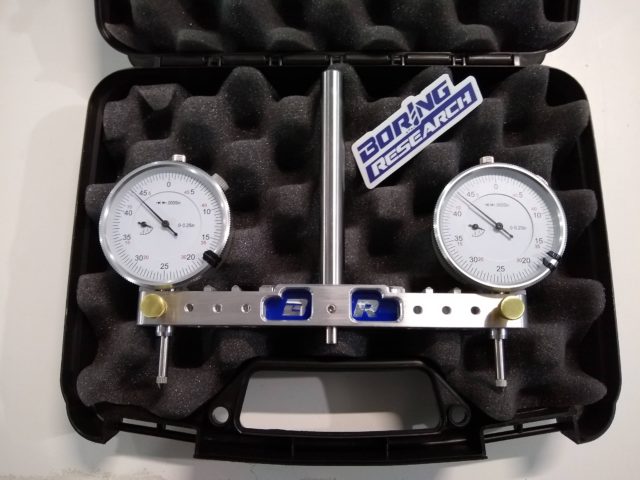
Adjustable 3-6″ Spindle Square & Tramming Tool
Metric Spindle Square | Mini Desktop Spindle Square
About
We built these as there wasn’t tramming tool on the market that was universal to different vise sizes or allowed you to change indicators easily or use your own. Currently in the market you find 5″ and 3″ off center but not a tool which can do both or even a wider range. Also the magnet used for zero’ing the square was kept separate. In this case it is held under the main spindle shaft for easy keeping. A nylon washer protects it from chipping.
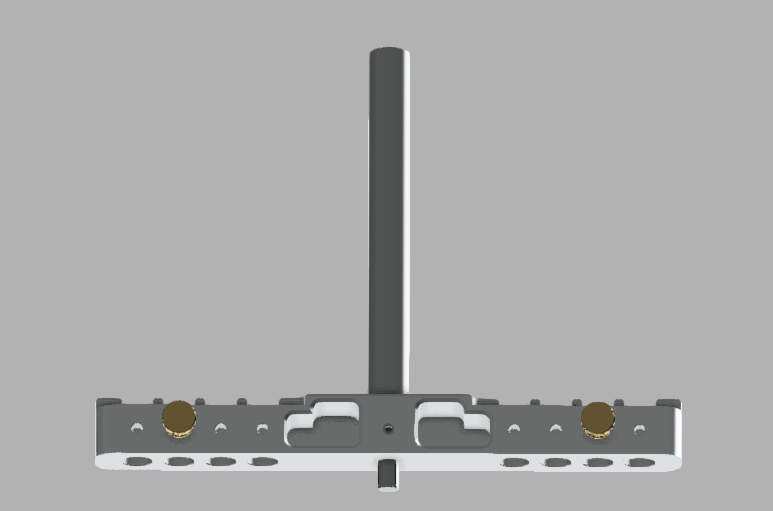
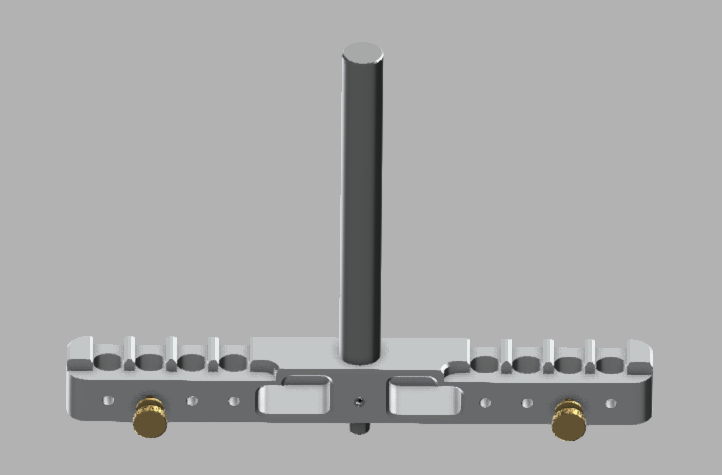
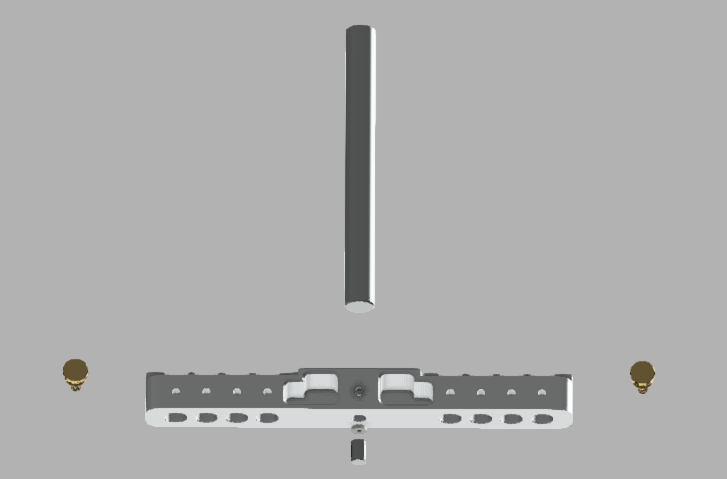
The spindle square is adjustable with 3/8 holes for 3-6″. It can be used to tram on multiple vise sizes, and machines such as your mill, drill press, sine bar and lathe. You can use any indicator with a 3/8 stem so you can install a brand or resolution of your preference. The hardware will never rust and shouldn’t damage your indicator unless you over-torque the thumbscrew.
Spindle Square Specifications
- Main body is made out of 6061 Aluminum and measures at 7″ by 3/4″ by 3/4″ with a brushed finish
- 5″ by 1/2″ shank hardened dowel pin with a 18-8 stainless set screw to retain
- 1/4″ by 1/4″ rare earth magnet for zero’ing square attached to square so it isn’t easily misplaced
- Brass 8-32 x 3/8 thumb screws to retain indicators
- Made on CNC equipment in OR, using USA made materials.
Dial Indicators
- Large easy to read white face with crisp black graduations
- .25” total travel
- 0.0005″ graduations
- Color may vary
- Made in China
Case
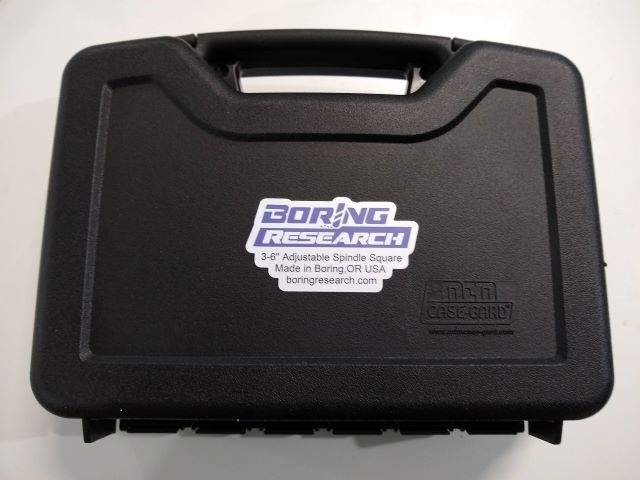
- Outside dimensions: 10.1″ x 8.0″ x 3.2″
- Snap latch; Large comfortable handle
- Rugged polypropylene with handsome textured finish
- Thick foam padding
- Made in USA
Instructions
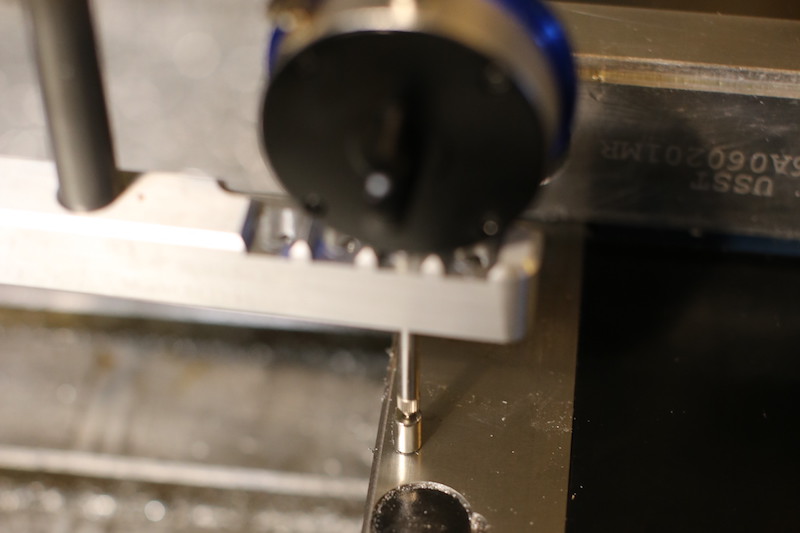
Keith Rucker over at VintageMachinery.org did a wonderful overview of the product and how to use this exact model on your milling machine to align the spindle to your table.
Randy Richard in the Shop has also done a great overview using this Spindle Square to square his mill table utilizing an outside reference.
Instruction Manual – Designed to be a living document. Please feel free to make comments and improve over time.
Order
Out of Stock
Shipping
Spindle Squares are shipped via the United States Postal Service in either first class or flat rate padded envelopes/boxes. They are shipped bare tool with indicators packed in original foam padding and white boxes.
